She loves to try on new clothes, posing, checking
herself in the mirror and she is so pretty whatever she wears.... and wherever she lies... She is really our Domestic Diva ♥


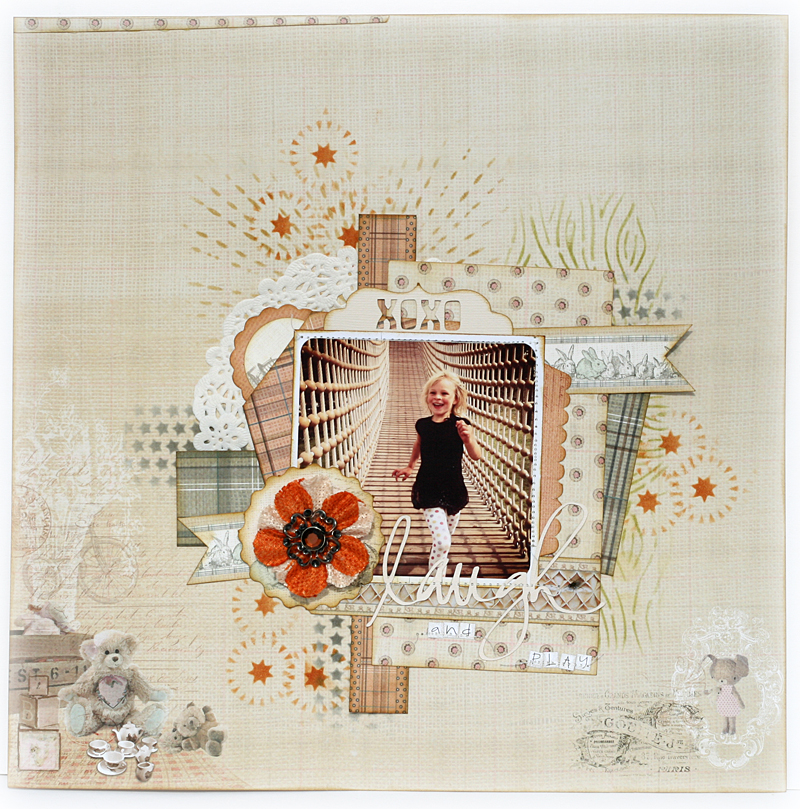
Domestic Diva – Petra
Offrell
For This Layout You Will Need
- FabScraps Milkshake Chic paper range: C58 001, 003, 005, and MC58 006,010, and MCDC58 006
- DC58 008 Domestic Diva Chip board
- Mask with distress ink., flowers, white CS, paper clips, washi tap, feathers
- Gesso, black mist, pink/purple acrylic paint.
Instructions
- Use a White Cardstock as background
- Fussy cut the girl from C58 003 PP and keep the black and white stripes.
- Cut out pieces of PP slightly bigger than your photograph from C58 005 and yet slightly larger from C58 003 and again C58 001. Add some distress ink to all the edges. Then stack them on top of each other, slightly out of center, with the fuzzy cut piece on top. Glue together but not the corners where you should curl the corners (you can use a pen to curl around).
- Now fit the gate (MC58 006) and the papers on the page but do not glue down. Add some distress ink on the background using a mask/stencil and then some decorative splatters from the black mist. Let dry.
- Glue down the photo/PP/gate cluster
- Cut out the stripe of paper from MC58 010and add.
- Paint the chipboard piece, let dry and glue on.
- Add some Washi to a few paper clips and add.
- Make a flower from MCDC58 006, curl the edges, add two feathers and glue down.
- Add 4 mini roses or similar flowers (I curled the wire around a pen)
- Now this will get messy but this is how I did it. Make a pile of gesso and dip your finger in it. Add gesso to the edges of the flowers, the paper stripes, the gate- a little here and there until you are happy.
- Enjoy!