12 januari 2015

My CHA creations for FabScraps .:. C73 Love 2 Travel - Thoughts behind the mask

Moving on to the next collection - Love 2 Travel - from FabScraps. I made this page and I had so much fun.


For This Project You Will Need:

   FabScraps Love 2 Travel C73 001 x 1
   FabScraps Love 2 Travel C73 004 x 1
   FabScraps Love 2 Travel MC 73 001A Journal Book
   FabScraps Love 2 Travel DC73 014 x 1
   White and black gesso
   Mist
   Distress ink
   Twine
   Flowers
   Pearls
   Lots of stamps
   Lace
   Circle punch

   Alpha stickers

Instructions:
1.     Use a white CS as the base. Cover it with gesso. Let dry. Ink the edges. Add some mist in different colors. Let dry.
2.     Add lots of different stamps on the misted areads. Let dry.
3.    Take the camera piece from FabScraps Love 2 Travel MC 73 001A Journal Book and glue it on to the chippie from FabScraps Love 2 Travel DC73 014. Ink the edges. Cut or punch out a circular photo, the 2.5” punch is just the perfect size.  Add a behind the chippie.
4.     Add the chippie and a piece of lace to the page.
5.     Cut out words from FabScraps Love 2 Travel C73 004. Also cut two stripes from the same paper for the upper and lower edge of the paper. Ink all before you add.
6.     Use the center circle from the camera pop-out and cut in two pieces. Add.
7.     Cut several circles from FabScraps Love 2 Travel C73 001 and add.
8.    Decorate with flowers and pearls.
9.     Use black alpha letters or paint them black with black gesso. Let dry and add the title.
10. Your layout is now ready to frame and hang!

11 januari 2015

My CHA creations for FabScraps .:. C72 Beach Affair - Relax

Another page using the same collection - each Affair - from FabScraps also made it for CHA.


For This Project You Will Need:

   FabScraps Beach Affair C72 003 x 1
   FabScraps Beach Affair C72 004 x 1
   FabScraps Beach Affair C72 005 x 1
   FabScraps Beach Affair C72 007 x 1
   FabScraps Beachcomber “Relax and unwind” DC 64 006
   FabScraps lighthouse metal Embellishment
   Clear & white gesso
   Border punch
   Cheesecloth
   Mist
   Distress ink
   Ink
   Twine
   Gold stickles
   White embossing powder
   Edge distresser
   Several stamps
   Lace


Instructions:
1.     Use the FabScraps Beach Affair C74 004 as the base. Rough up the edges using an edge scraper and ink the edge using distress ink. I also added some soft yellow-tone distress ink all over the edge to pic up the tone of my photo. If you like, you can cut out the centerpiece of the paper to leave a 2” thick frame.
2.     Take the FabScraps Beach Affair C74 005. Cut off ½ “ on two sides. Cover it with clear gesso and let dry.  Rough up the edges using a border punch and an edge scraper and ink the edge using distress ink.
3.    Add the second piece on top of the base. Mist and add lots of water. Let dry. Add some drops of gold mist. Let dry.
4.     Stamp all over the misted area using permanent ink. Let dry.
5.     Add a piece of cheesecloth.
6.     Cut out a few fish, water flowers and shells from FabScraps Beach Affair C74 003.  Add with the photo and a piece of lace.
7.     Cut out lots of fishes from FabScraps Beach Affair C74 007. Add.
8.    Tie some twine on the metal lighthouse. Add.
9.     Cut out relax from the FabScraps Beachcomber “Relax and unwind” DC 64 006. Paint with gesso and let dry.
10.  Emboss with white embossing powder. Glue down to the page.
11.  Add some gold stickles on the title and metal embellishments.
12. Your layout is now ready to frame and hang!


I used some of my own designed stamps made using Teresa Collins Stampmaker from Photocentric mixed with some bought stamps. Love how the background came around.


10 januari 2015

Life I totally love you - Layout med stämpel från Heidi Swapp och Pink Paislee Bella Rouge collection

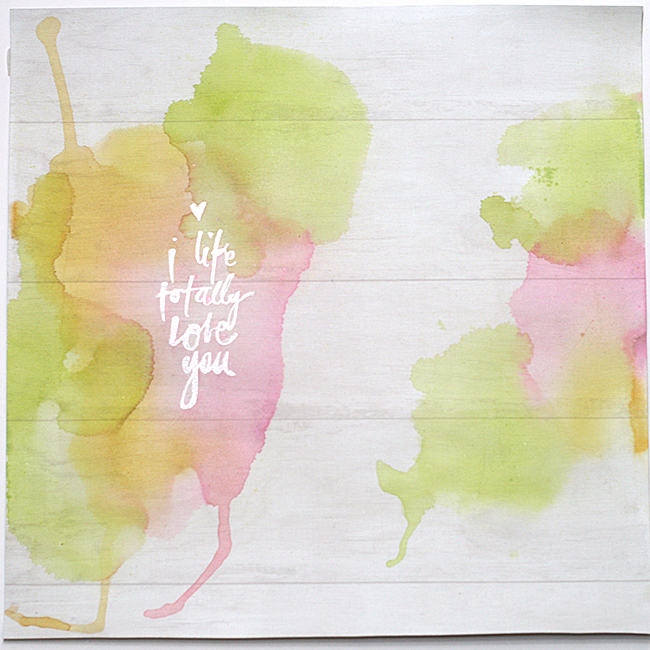
Jag hittade en fin stämpel från Heidi Swapp - Life I totally love you - och det blev utgångspunkten för min layout. Jag använde ett papper från Pink Paislee Bella Rouge som bas och täckte med transparent gesso. Sedan stämplade jag med Heid Swapp-stämpeln och embossade med transparent embossingpulver.  Därefter var det dags att ösa på olika färger med mist och vatten. Så här blev bakgrunden:


Jag stämplade hej-vilt på bakgrunden. Sen skar jag ut några löv i Bella Rouge papper med Cameon och dekorerade med dem och detaljer från Bella Rouge-serien.


Material:
Pink Paislee Bella Rouge - 12x12 paper Diamond
Pink Paislee Bella Rouge - 6x6 paper pad
Pink Paislee Bella Rouge - Ephimera Die-cuts
Pink Paislee Bella Rouge - Chipboard Stickers
Pink Paislee Bella Rouge - Frayed Chiffon Flowers
Project Life Heidi Swapp Exclusives Stamp & Stencil Set - Love You
Kaisercraft Texture Clear Stamps - Script
Mist, embossingpulver, ink, skärfil för Silhouette/Cameo från PrettyCraftyStuff