Visar inlägg med etikett Photocentric. Visa alla inlägg

24 juni 2015

I love you

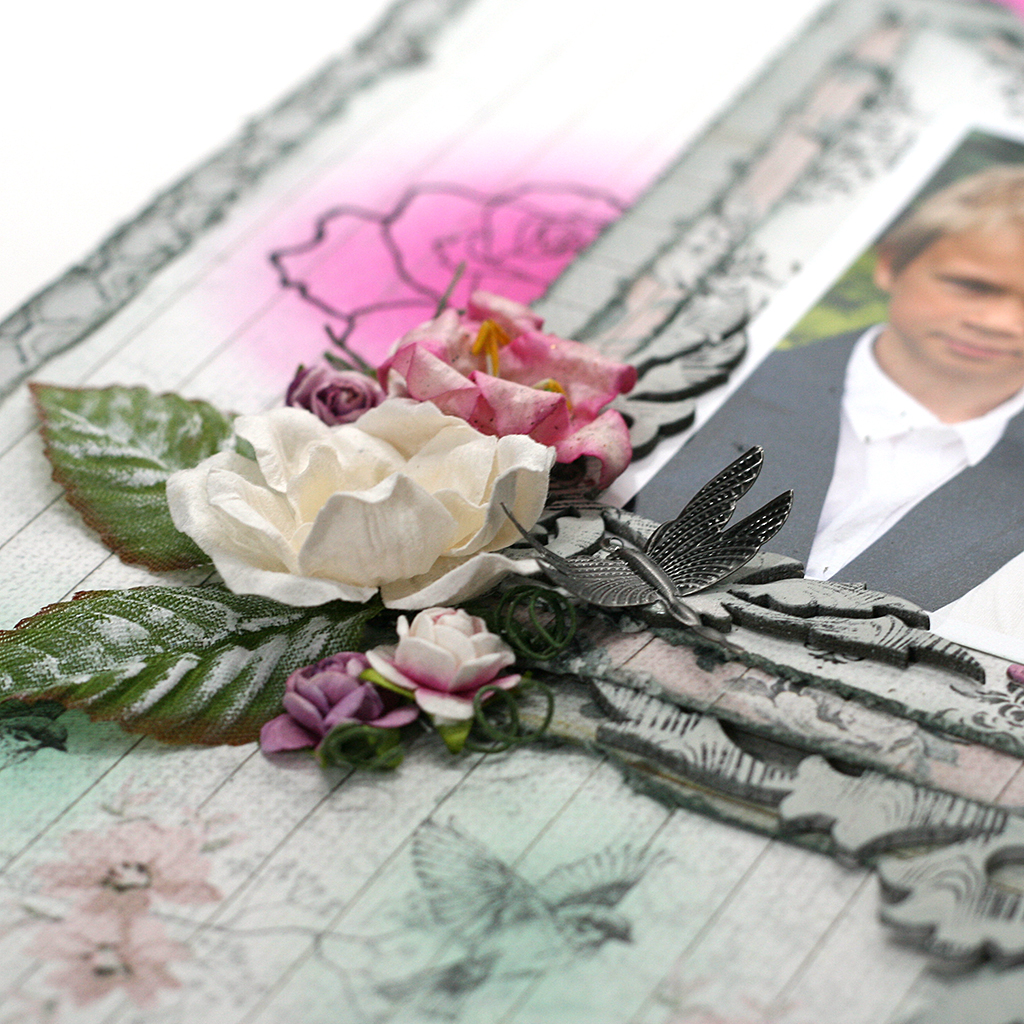
I took this photo of my three sweet kids at the last day of school before summer break - love it!
I wanted the page to have a look of summer and be romantic and I think I managed to get that look.


I stamped o the background and when the ink was dry I just added some distress ink onto not really caring to get inside the lines.


I also stamped with a woodgrain stamp on the chipboard after first covering them with gesso. When the ink was dry I added distress ink in two different colors.

I embellished with flowers, leaves painted with gesso and a metal dragon fly.


I also added distress inkon the bird design on the background paper from FabScraps to get the design to go together.


Supply:
FabScraps C71 001, 005, 006, 007, 008 from Elegant Chic collection
Metal dragonfly from FAbScraps
Distress ink
Flowers and leaves
Stamps made using the Teresa Collins Stampmaker from Photocentric
Chipboard from A2ZScraplets

A2ZScraplets used:
I love you border
Flourish 06
Flourish 14

Negatives used to make stamps:


15 januari 2015

My CHA creations for FabScraps .:. C73 Love 2 Travel - Love to explore

This collection has the cutest bicycle pattern. Perfect for those cute bike-photos.


I went a bit wild with mists and stamps on the background.


For This Project You Will Need:

   FabScraps Love 2 Travel C73 001 x 1
   FabScraps Love 2 Travel DC73 002 x1
   FabScraps Love 2 Travel DC73 010 x1
   FabScraps dragonfly, fan and ‘Faith’ metal Embellishment
   White Cardstock
   Gesso
   Mist
   Distress ink
   Ribbon
   Edge punch
   Crystal stickles
   Flowers and leaves
   Edge distresser
   Lots of stamps
   A black Sharpie pen
   3D foam
   Doily


Instructions:
1.     Use a white CS as the base. Cover it with gesso. Let dry
2.     Mist with 2 different colors. Let dry. Add splatters. Let Dry
3.    Add lots of stamps. Let dry.
4.     Take your photo. Cut two pieces, each slightly bigger than the photo from FabScraps Love 2 Travel C73 001. Rough up the edges using a border punch and an edge distresser. Ink and add but first stick a doily underneath.
5.     Cut a tag from the same FabScraps Love 2 Travel C73 001. Punch a hole and add a circular piece around the hole. Rough up the edges and ink. Tie some ribbon and add.
6.     Decorate the tag using some metal embellishment and some flowers. Cut out a bike from FabScraps Love 2 Travel C73 001, make it pink using distress ink and add on 3D-foam.
7.     Add a larger flower and some leaves and a metal embellishment.
8.    Cover the chippies FabScraps Love 2 Travel DC73 002 and DC73 010 with gesso. Color with distress ink and add to the page.
9.     Write on the title chippie using a black Sharpie pen.
10.  Paint the flowers pink (if they are not already pink) and let dry.
11.  Add some crystal stickles on the flowers, metal embellishments and the cut out bike and the chipboard bike.
12. Your layout is now ready to frame and hang!


I used several ready-bought stamps but also my bike stamp made using my Teresa Collins Stamp-maker by Photocentric. You can download the bike-stamp here.


11 januari 2015

My CHA creations for FabScraps .:. C72 Beach Affair - Relax

Another page using the same collection - each Affair - from FabScraps also made it for CHA.


For This Project You Will Need:

   FabScraps Beach Affair C72 003 x 1
   FabScraps Beach Affair C72 004 x 1
   FabScraps Beach Affair C72 005 x 1
   FabScraps Beach Affair C72 007 x 1
   FabScraps Beachcomber “Relax and unwind” DC 64 006
   FabScraps lighthouse metal Embellishment
   Clear & white gesso
   Border punch
   Cheesecloth
   Mist
   Distress ink
   Ink
   Twine
   Gold stickles
   White embossing powder
   Edge distresser
   Several stamps
   Lace


Instructions:
1.     Use the FabScraps Beach Affair C74 004 as the base. Rough up the edges using an edge scraper and ink the edge using distress ink. I also added some soft yellow-tone distress ink all over the edge to pic up the tone of my photo. If you like, you can cut out the centerpiece of the paper to leave a 2” thick frame.
2.     Take the FabScraps Beach Affair C74 005. Cut off ½ “ on two sides. Cover it with clear gesso and let dry.  Rough up the edges using a border punch and an edge scraper and ink the edge using distress ink.
3.    Add the second piece on top of the base. Mist and add lots of water. Let dry. Add some drops of gold mist. Let dry.
4.     Stamp all over the misted area using permanent ink. Let dry.
5.     Add a piece of cheesecloth.
6.     Cut out a few fish, water flowers and shells from FabScraps Beach Affair C74 003.  Add with the photo and a piece of lace.
7.     Cut out lots of fishes from FabScraps Beach Affair C74 007. Add.
8.    Tie some twine on the metal lighthouse. Add.
9.     Cut out relax from the FabScraps Beachcomber “Relax and unwind” DC 64 006. Paint with gesso and let dry.
10.  Emboss with white embossing powder. Glue down to the page.
11.  Add some gold stickles on the title and metal embellishments.
12. Your layout is now ready to frame and hang!


I used some of my own designed stamps made using Teresa Collins Stampmaker from Photocentric mixed with some bought stamps. Love how the background came around.